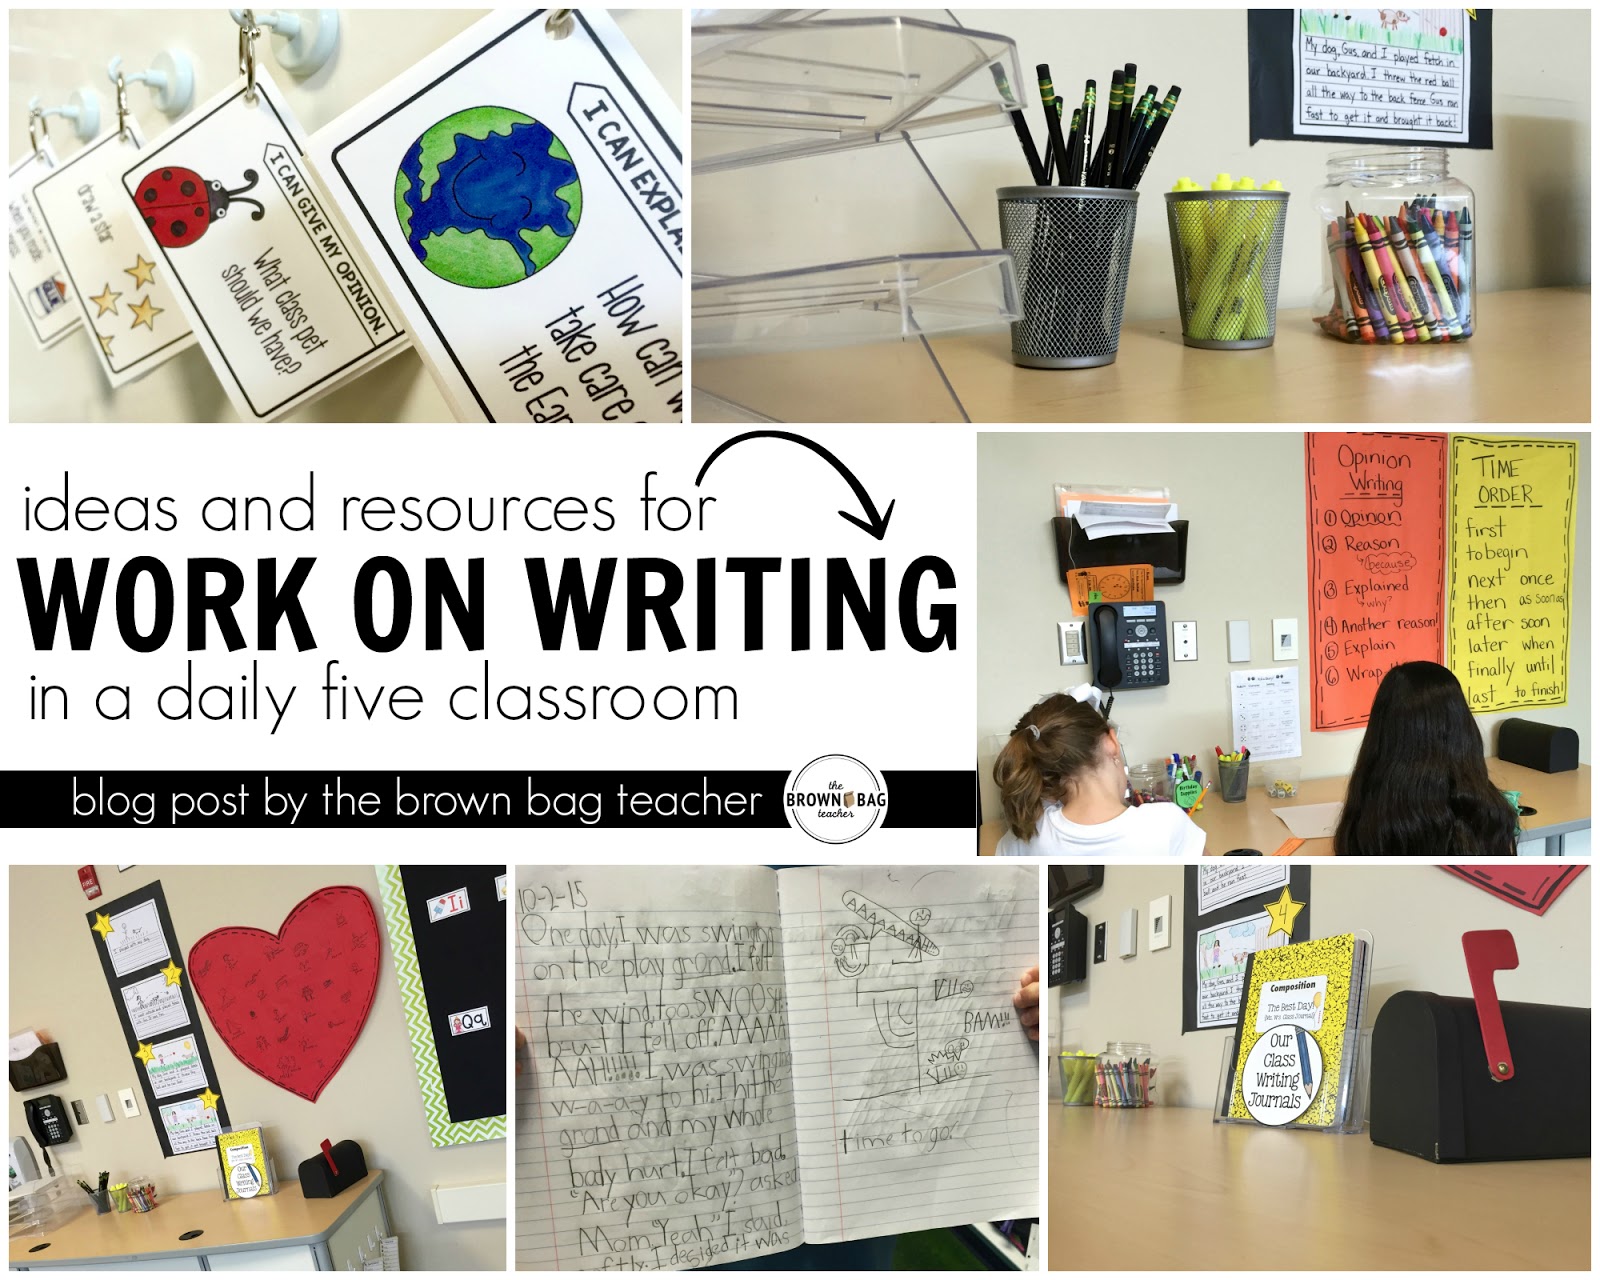
Motivating students to become wild readers is always one of my top priorities each school year. From ridiculously engaging read-aloud voices to weekly themed shelves, I am willing to pull out all the stops because growing readers matters. One of the easiest ways to achieve student book buy-in is peer pressure! Getting students to suggest books to other students immediately validates the recommendation. Today I wanted to share one way I have students share their favorite books with their friends.
![]()
If a friend finds a book they are particularly interested in or captivates their attention, we have introduced Book Blurb recommendations. I used these blurbs in 5th grade, and am excited to start using them in 1st grade! Our standard for writing a blurb is that it is a book you want to read over and over again.
The Common Core has an entire ELA Strand devoted to Speaking and Listening Standards. Book Blurbs and Recommendations give students the perfect opportunity for students to speak in front of their peers and respond in a real way (reading the book or not reading the book). Additionally, one of the 1st grade opinion writing standard is "Students will... write opinion pieces in which they introduce the topic or name the book they are writing about, state an opinion, supply a reason for the opinion, and provide some sense of closure."
![]() In between each round of choice, students may bring their book blurbs to the carpet to share. They love introducing a book to the class and reading why their friends should also pick the book. Every 3-4 days, I pick 4 or 5 of the blurbs to attach to books.
In between each round of choice, students may bring their book blurbs to the carpet to share. They love introducing a book to the class and reading why their friends should also pick the book. Every 3-4 days, I pick 4 or 5 of the blurbs to attach to books.
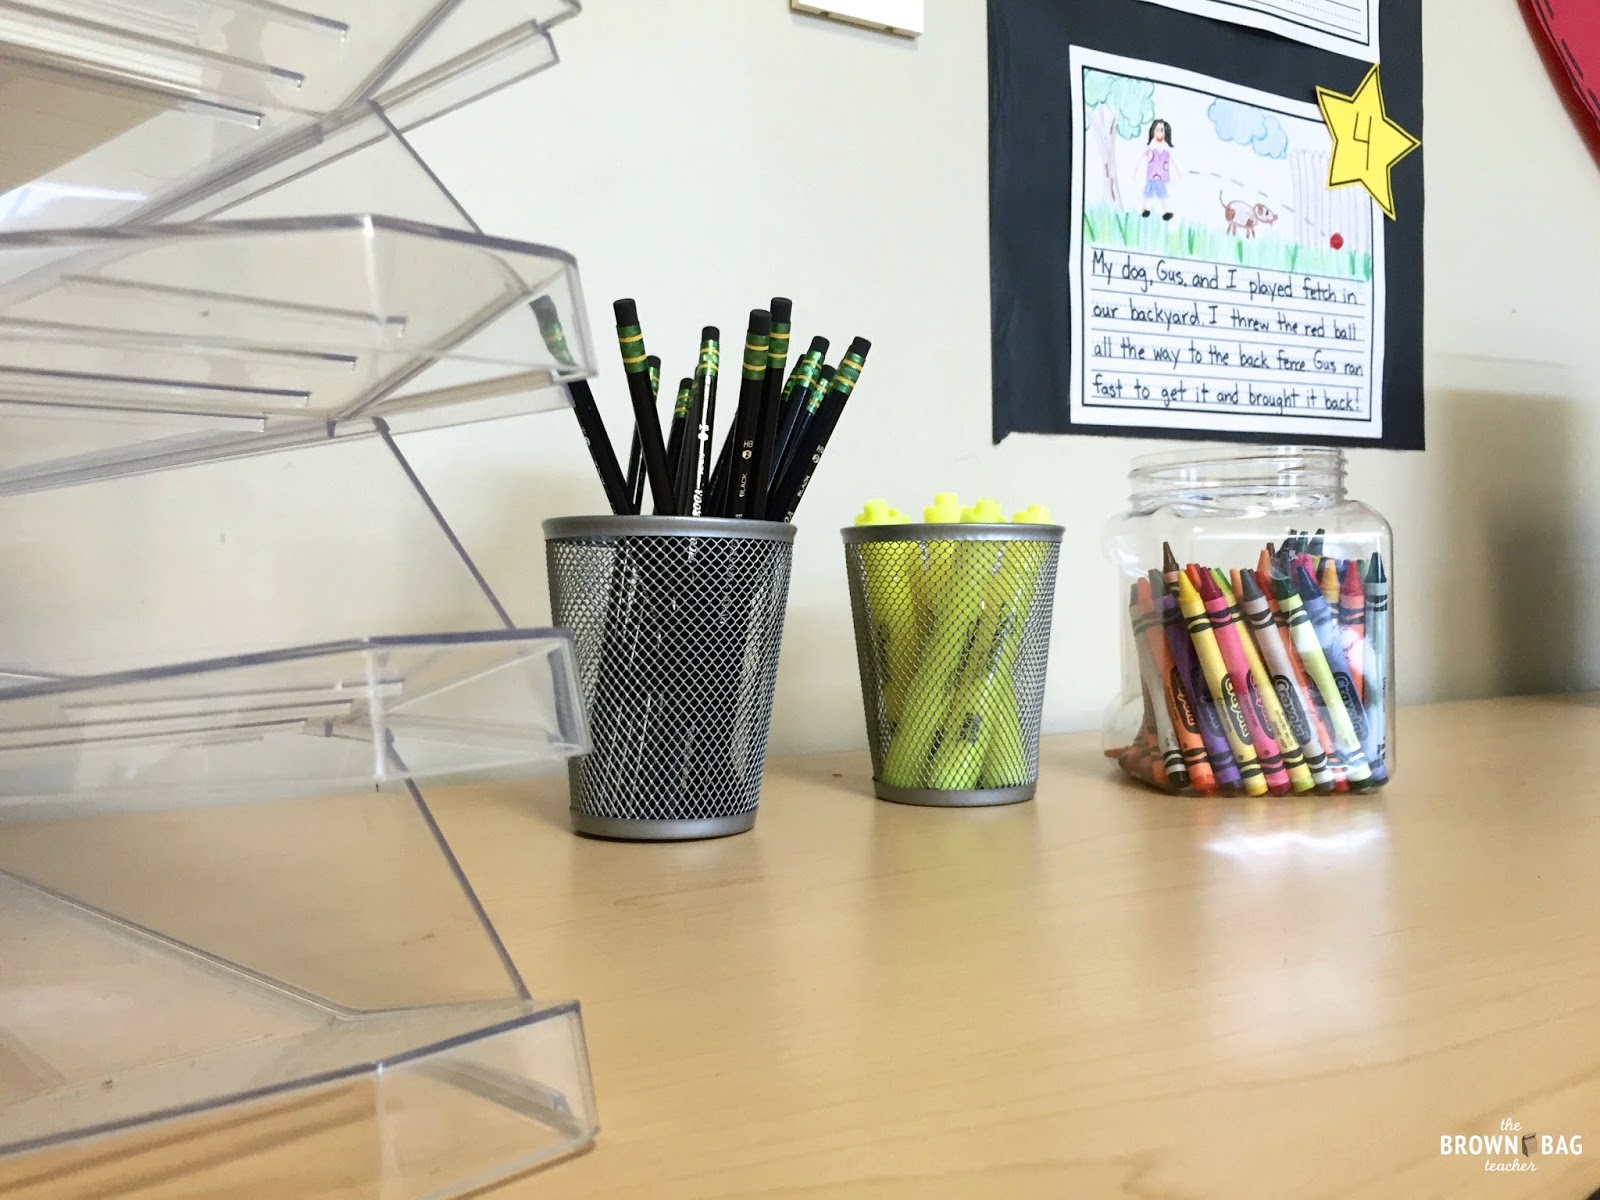
![]() I use a large paper clip to attach the book blurb to the book. When students decide to read the book, they place the blurb back in our Work on Writing spot for recommendations or take it with them as they enjoy the book.
I use a large paper clip to attach the book blurb to the book. When students decide to read the book, they place the blurb back in our Work on Writing spot for recommendations or take it with them as they enjoy the book.
When students enjoy the book, they return it to our window sill or whiteboard tray for other friends to read!
![]() Currently our book recommendations are sitting on our whiteboard ledge. In 5th grade, our books and book blurbs were propped on a window sill using plate stands from Hobby Lobby.
Currently our book recommendations are sitting on our whiteboard ledge. In 5th grade, our books and book blurbs were propped on a window sill using plate stands from Hobby Lobby.
![]()
![]()
Where Do Book Recommendations Fit?
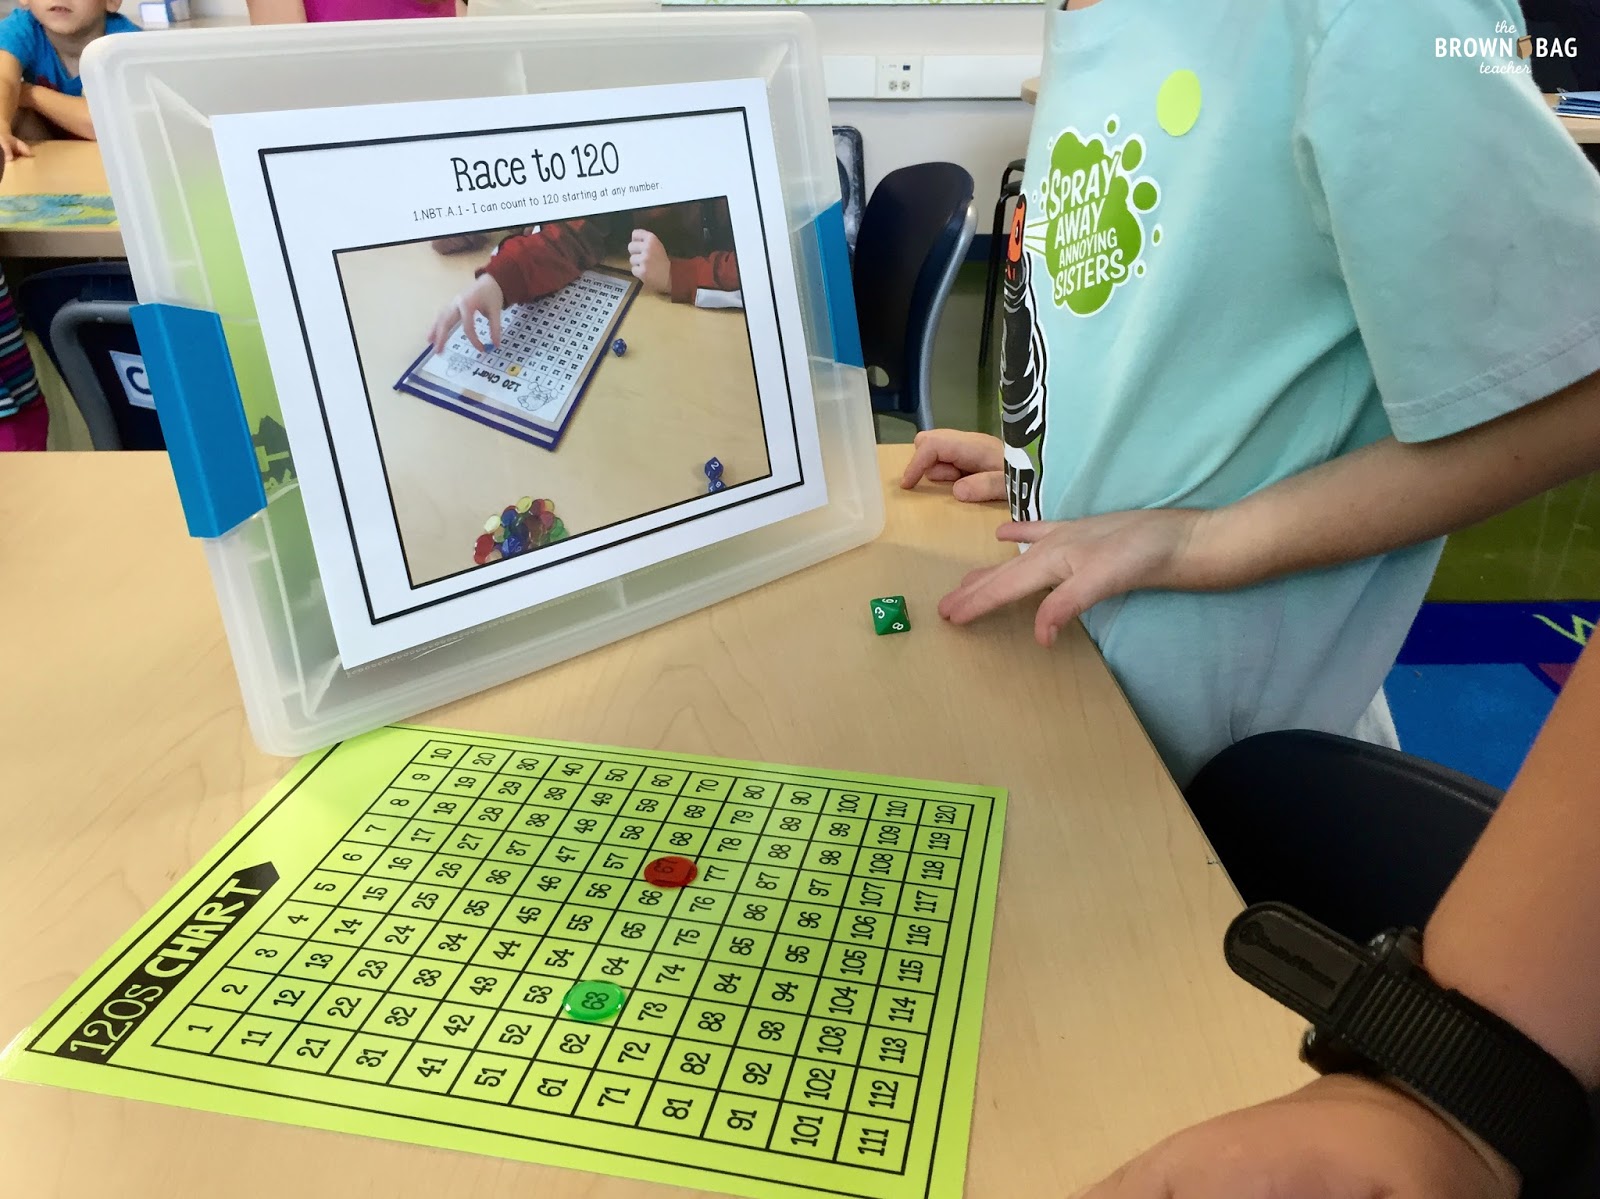
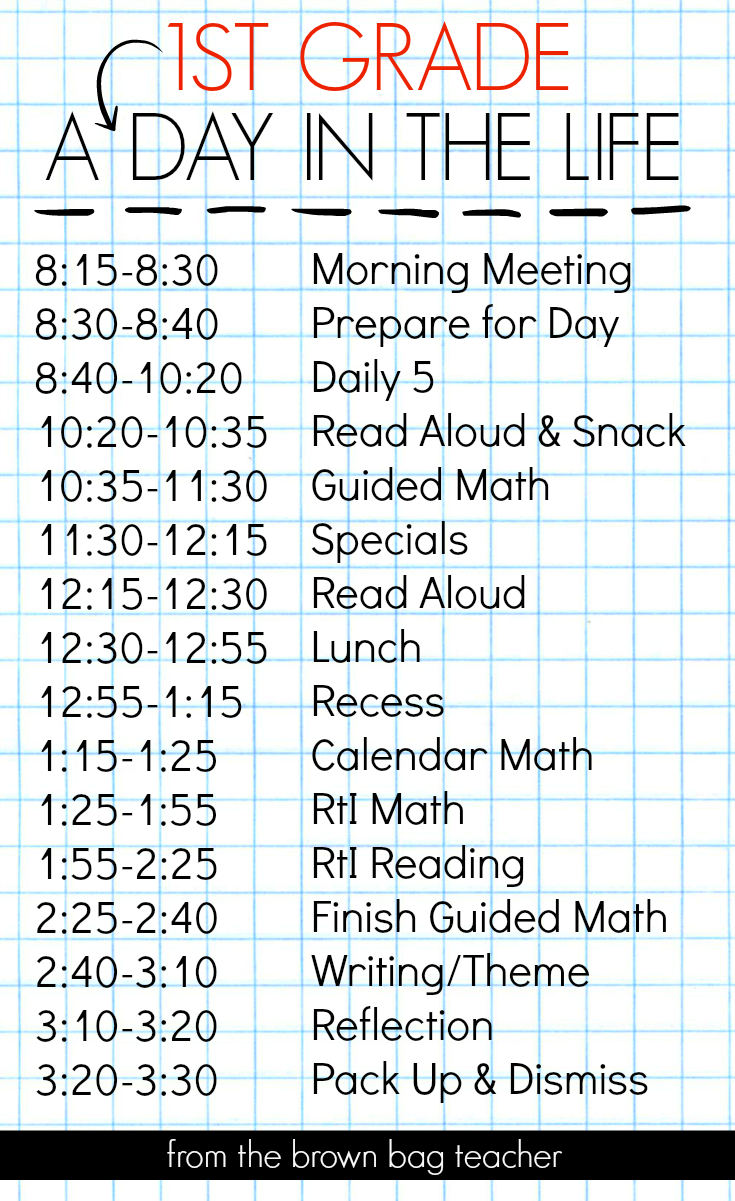
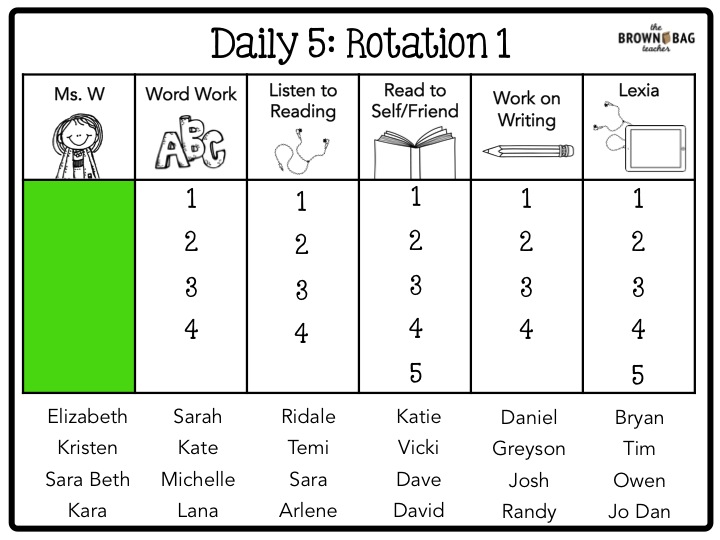
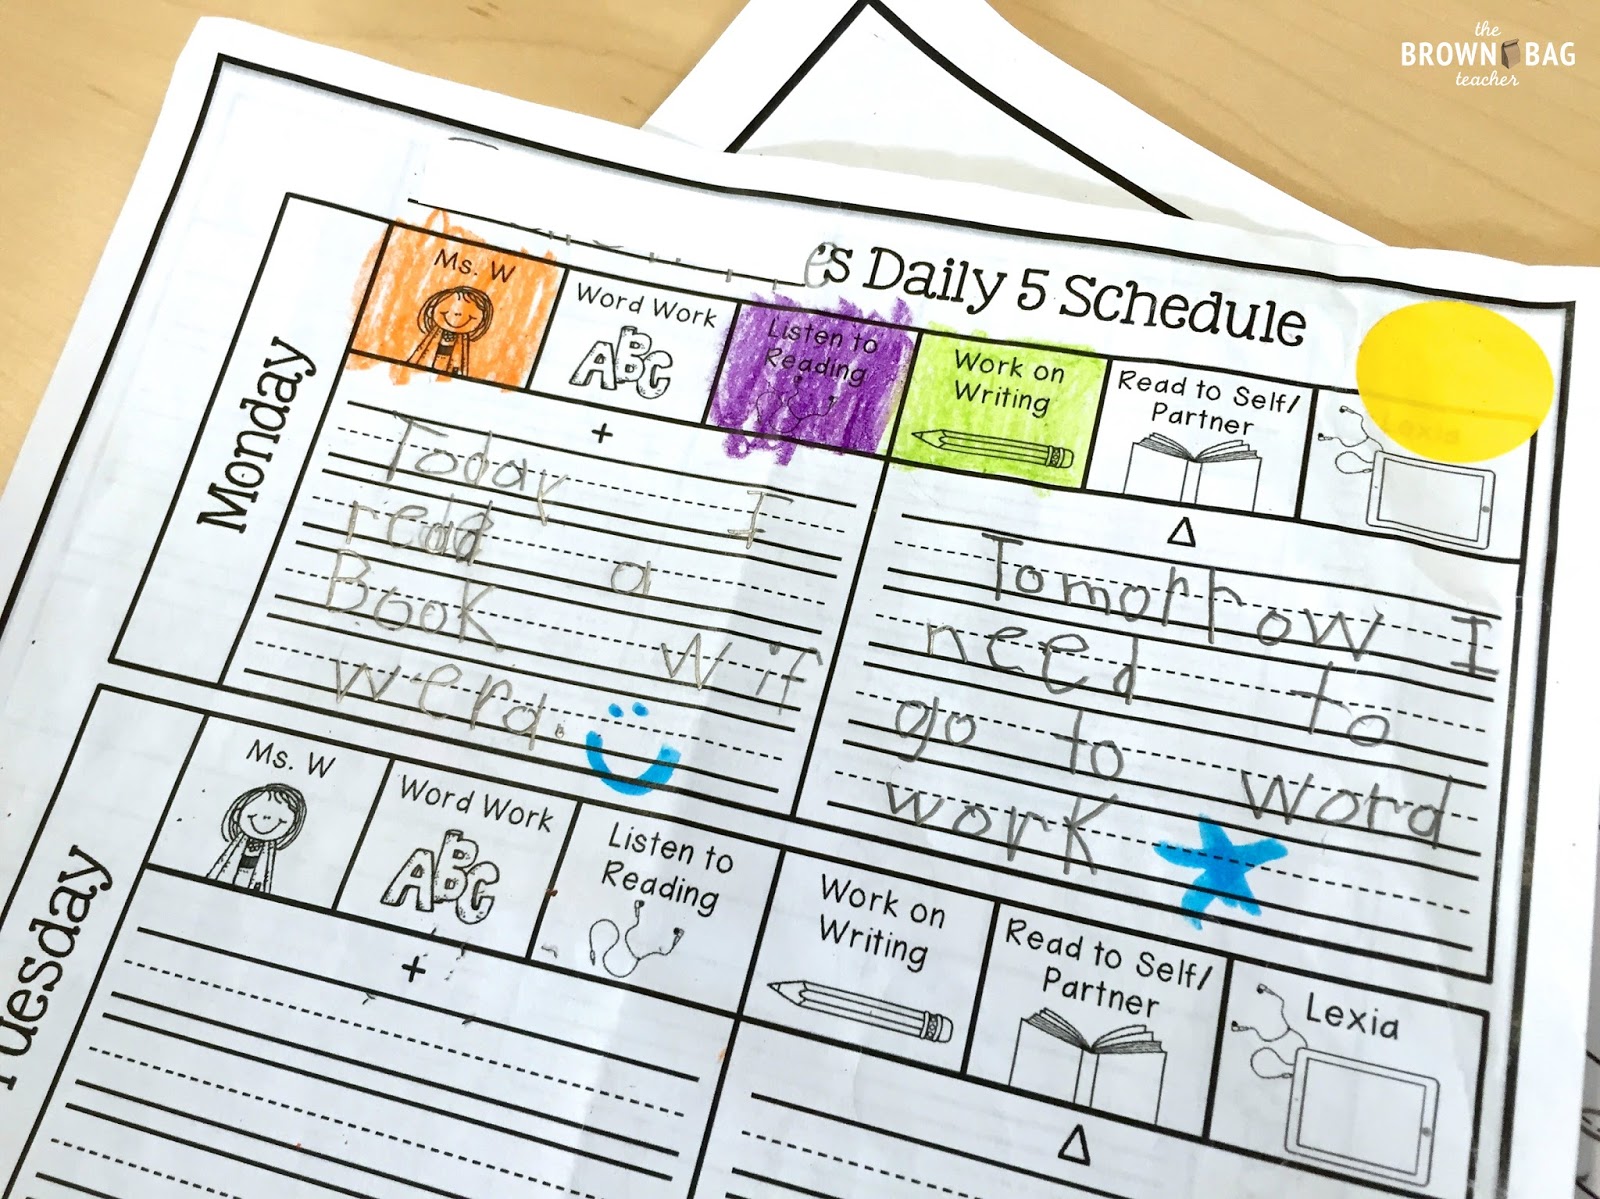
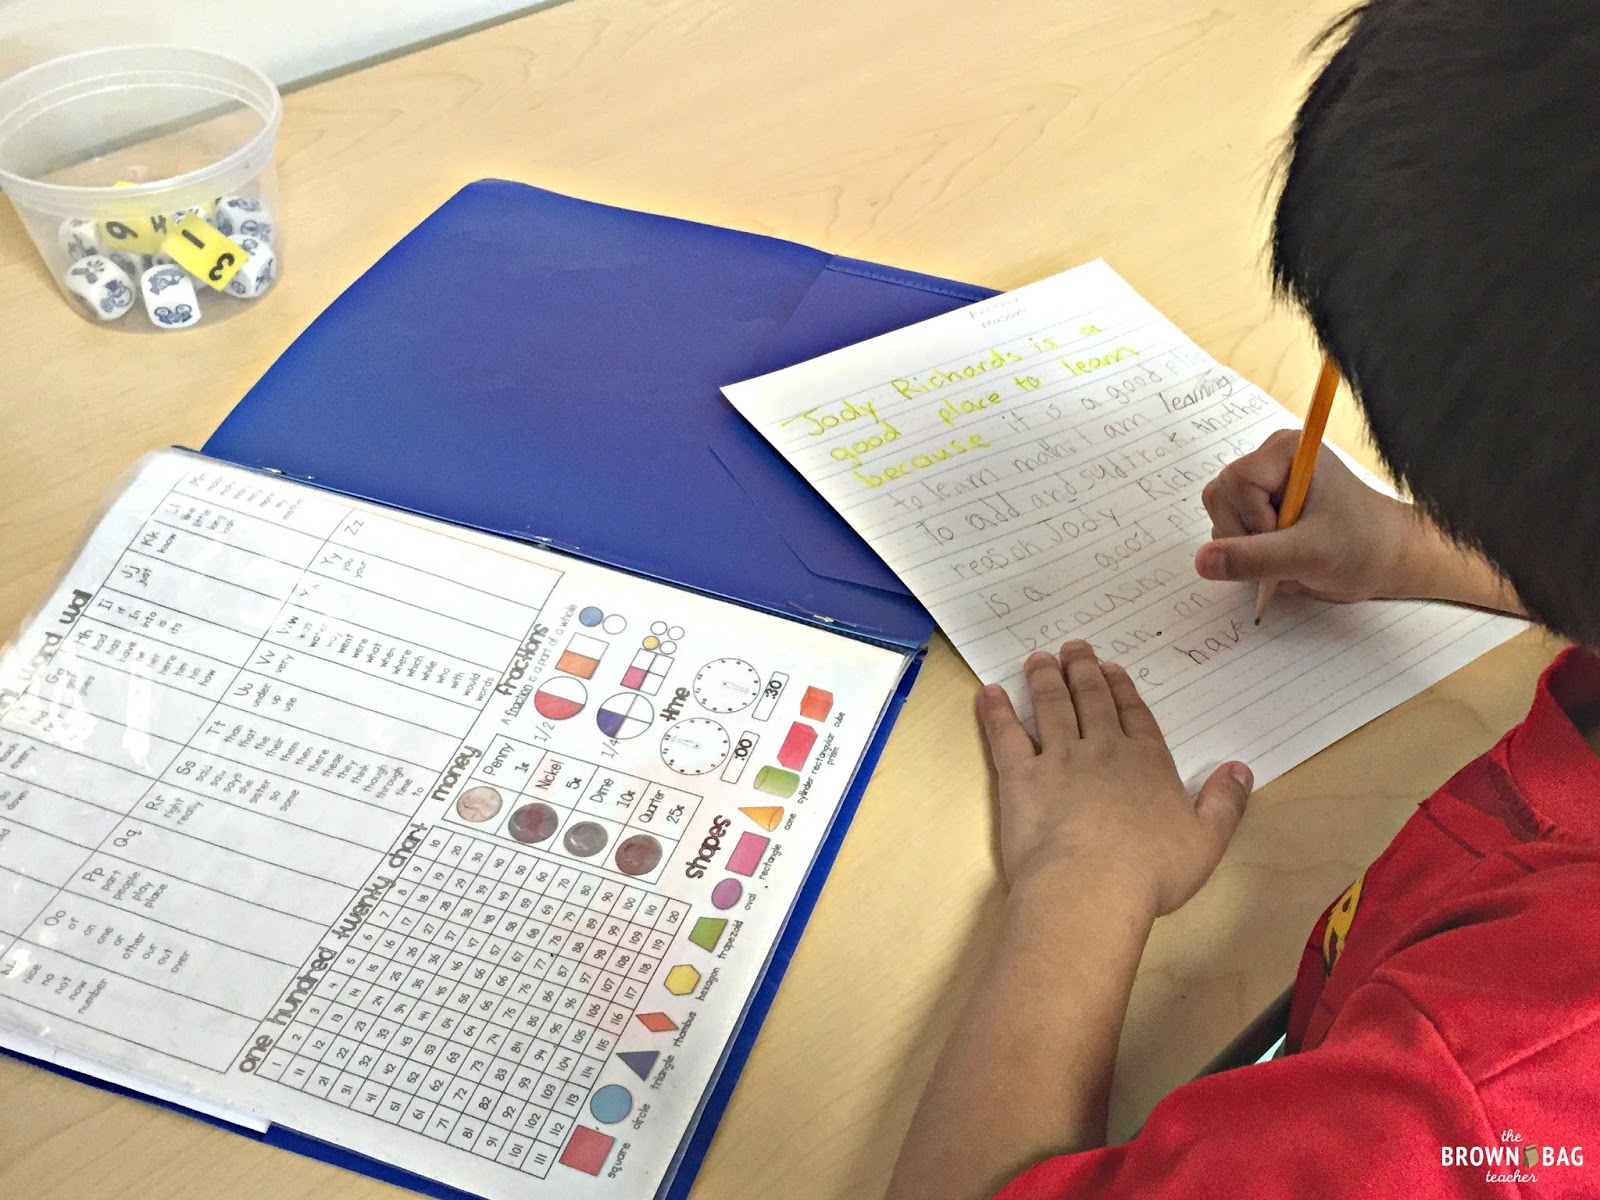
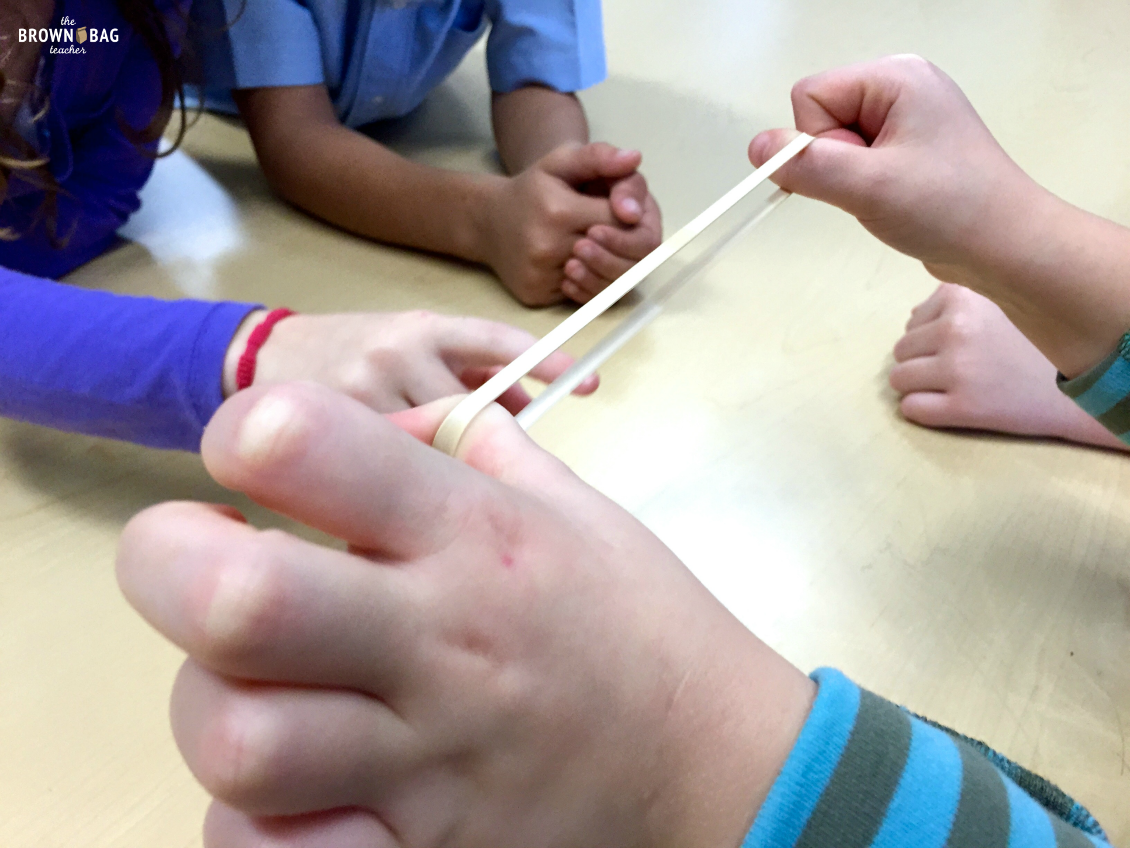
Using a Daily 5 model for our reading block, my 1st graders spend 20-30 minutes reading (by themselves or with a friend) each day. As a class, we often talk about the books we are reading and in between rounds/choices students will bring a book to the carpet. This is a signal to me that the student wants to share what they are reading/learning with a friend.If a friend finds a book they are particularly interested in or captivates their attention, we have introduced Book Blurb recommendations. I used these blurbs in 5th grade, and am excited to start using them in 1st grade! Our standard for writing a blurb is that it is a book you want to read over and over again.
The Common Core has an entire ELA Strand devoted to Speaking and Listening Standards. Book Blurbs and Recommendations give students the perfect opportunity for students to speak in front of their peers and respond in a real way (reading the book or not reading the book). Additionally, one of the 1st grade opinion writing standard is "Students will... write opinion pieces in which they introduce the topic or name the book they are writing about, state an opinion, supply a reason for the opinion, and provide some sense of closure."
Book Recommendations in Action
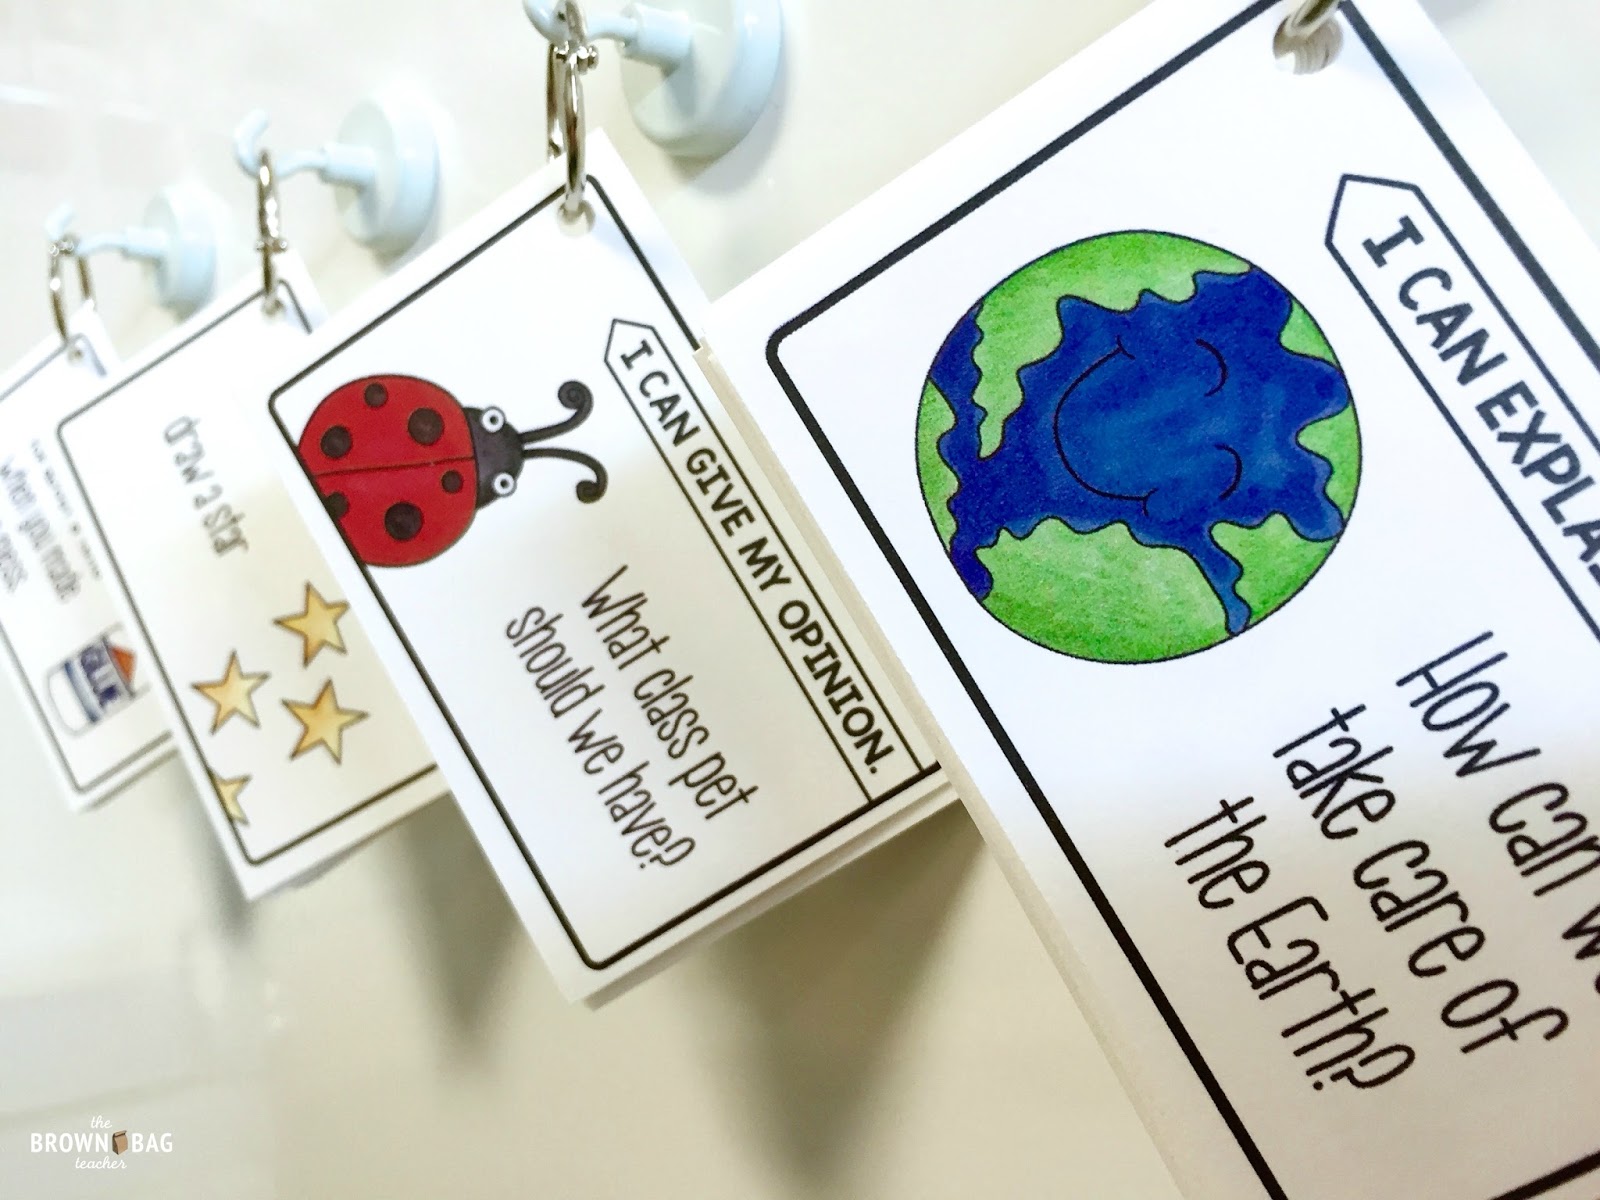
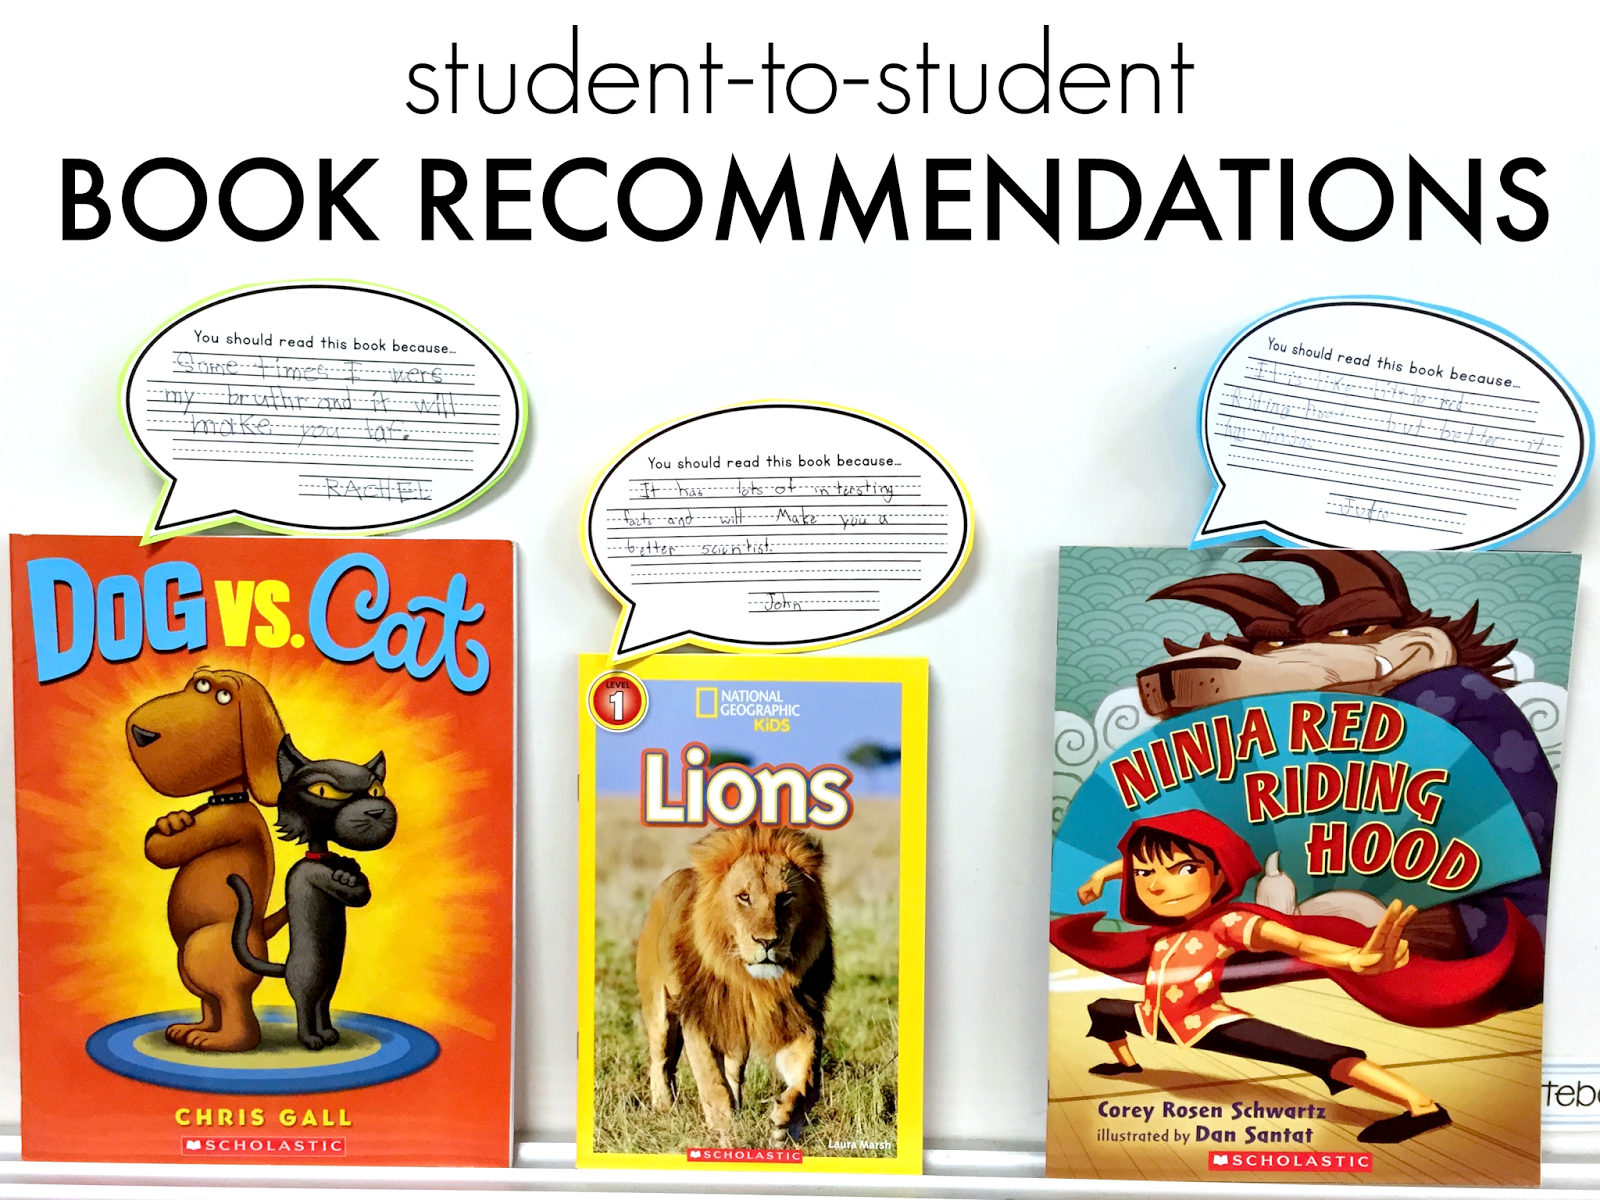
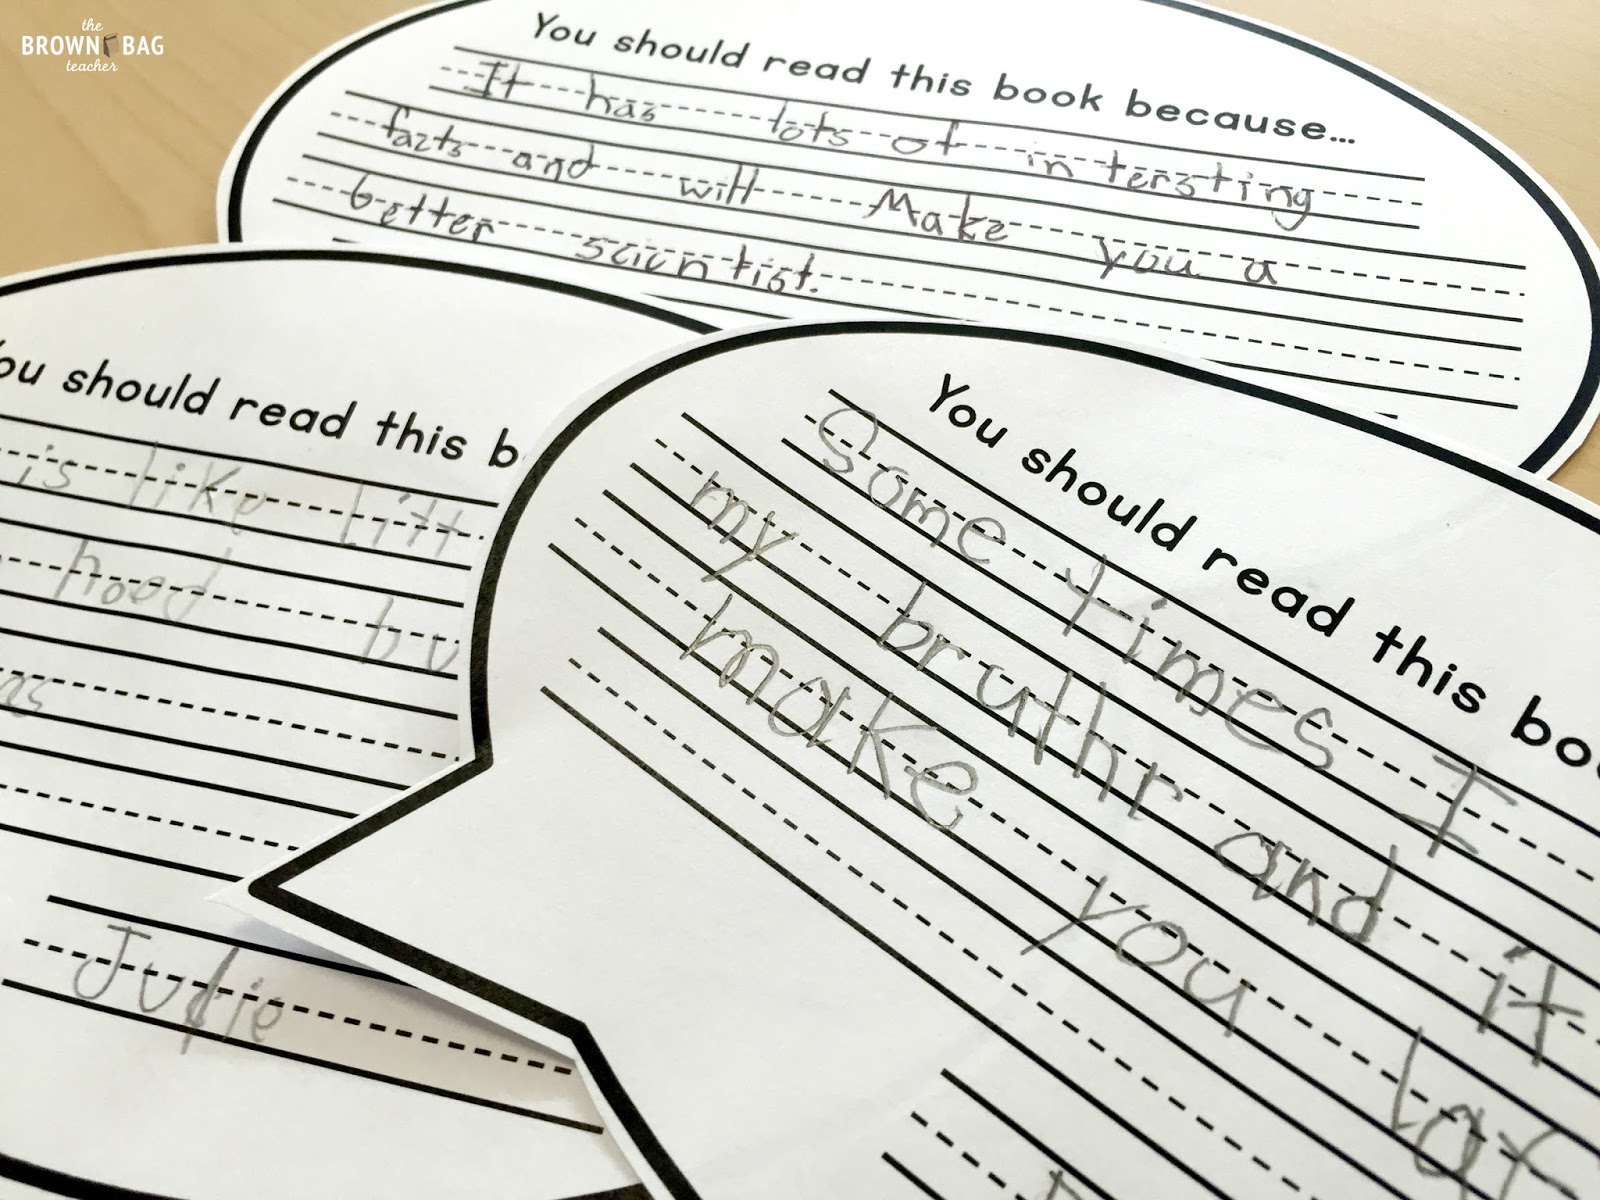
When students have found that PERFECT book that everyone needs to read, they may grab a blurb bubble from Work on Writing. Right now, students are using the sentence started "You should read this book because..." but eventually we will learn to structure our own sentences and eventually, paragraphs. (Grab the template for free here.) This friend loved Ninja Red Riding Hood. Her recommendation read "You should read this book because it is like Red Riding Hood but better. It has ninjas." 1st grade standards, people!
When students enjoy the book, they return it to our window sill or whiteboard tray for other friends to read!


Using Book Recommendations in Your Classroom
So, are you ready to introduce book blurbs as a way for students to share must-reads to their friends? If so, here is a game plan -
- Model. Model. Model. (with Words) Before introducing book recommendations, model introducing and picking highlights as you do class read-alouds. "Today we read Duck on a Bike I love this book because all the animals end up riding bikes. It is so silly and always makes me laugh."
- Model. Model. Model. (with Writing) Although I expect students to write recommendations on must-read books, for a week before I introduced them as an independent choice, we wrote a recommendation on every.single.book we read together. So, whether we read 2 or 3 books a day, we wrote a recommendation together.
- Organize Your Materials Make copies of the recommendation form (snag it from here free) and find a home base for it. Figure out how you want students to turn it in/share their recommendations (we bring ours to the carpet in between Daily 5 rounds). Then, choose a day of the week for choosing which recommendations to display. (If you have TONS of recommendations in a week and want to encourage all students, you might decide to fill your library display shelf with all the recommendations!)
- Launch Now, it's time to release and make tweaks based on what works and what doesn't. As your launch, BE EXCITED! This is a huge step for your readers and they will love it. Sharing books has power, so hold on.

What are your favorite ways to get students talking about their reading? Having students talk about their reading and recommending books is a HUGE part in motivating readers, so I'd love to hear your ideas!